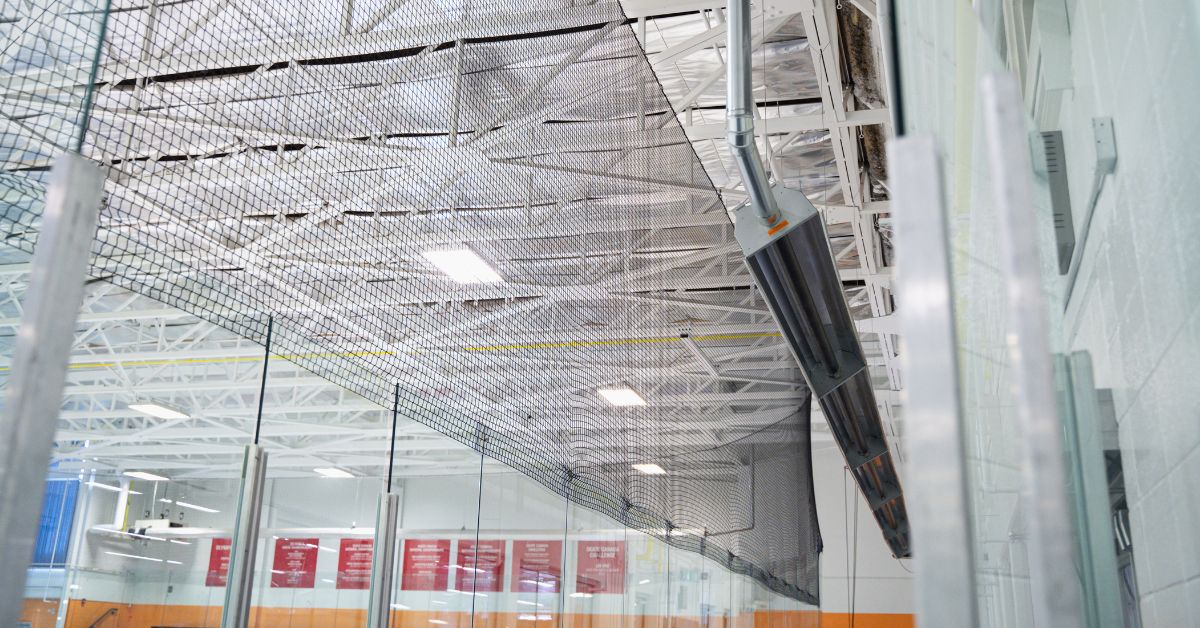
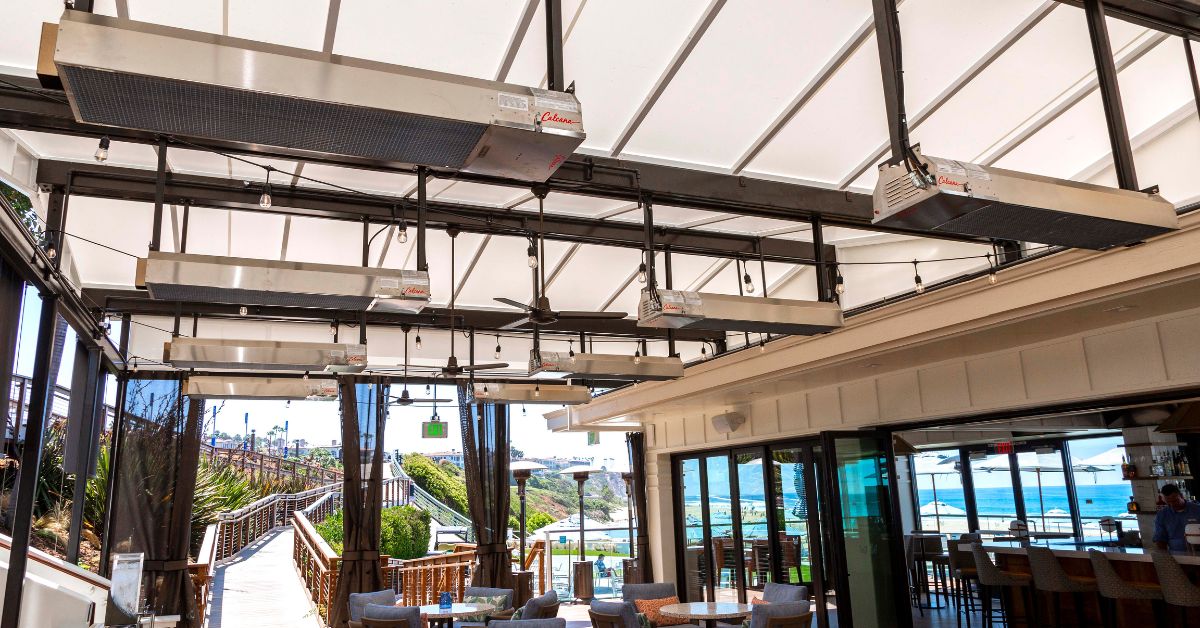
Mounting a radiant heater to your ceiling is an excellent way to maximize comfort and efficiency in your space. Proper installation not only ensures optimal performance but also enhances safety and frees up wall and floor space.
With the right tools and a step-by-step approach, you can securely and efficiently mount your radiant heater to your ceiling, creating a warm and cozy environment with minimal effort. This guide will walk you through everything you need to know to get started.
Check the Ceiling Material
The type of ceiling material in your space plays a significant role in determining the stability of your installation. Ceilings made of combustible materials, such as wood or certain plastics, require careful consideration and adherence to safety guidelines due to the potential risk of overheating. Many manufacturers specify minimum clearance distances between the heater and the ceiling to ensure safe operation.
On the other hand, non-combustible materials, such as concrete or metal, provide better heat resistance and often allow for greater flexibility in mounting options. If your ceiling is made of drywall, ensure you use appropriate anchors designed to support the weight of the heater.
For wood ceilings or wooden beams, wood screws can often provide a secure attachment point. Additionally, concrete ceilings may require the use of masonry anchors or bolts for proper installation. Assessing your ceiling material beforehand will save time and ensure a safe and sturdy installation.
Follow Manufacturer Guidelines
Before moving on to any installation step, carefully review and follow the manufacturer's guidelines provided in the manual. These guidelines offer detailed instructions specific to your model that ensure proper functionality and safety. They often include important information such as weight limits and mounting heights. Take installation step by step, double-check the guidelines, and don’t hesitate to reach out to customer support if you have questions.

Ensure Proper Clearance
You must provide adequate clearance around your ceiling-mounted heater to achieve optimal performance and safety. Begin by consulting the manufacturer’s guidelines, as these often detail the minimum distances required between the heater and surrounding surfaces such as walls, ceilings, and any nearby objects.
These clearances help prevent overheating and reduce the risk of fire hazards. Additionally, maintaining proper spacing ensures that the heat is distributed evenly throughout the room, maximizing both comfort and energy efficiency. Think about factors such as airflow and room layout when positioning the heater, and never obstruct the unit with furniture or decorations.
Use a Stud Finder for Secure Installation
Ensure your heater is securely mounted to the wall for both safety and functionality. A stud finder is an invaluable tool in this process, as it helps you pinpoint the wooden or metal studs behind your walls. These studs provide the stability needed to support the weight of your heater, preventing accidents or damage to your walls.
Once you’ve found the stud location, mark it with a pencil, ensuring precise placement for brackets or mounting hardware. Always follow the manufacturer’s instructions for installation, and double-check that your heater is level before securing it in place. Taking the time to use a stud finder not only ensures a professional and secure fit but also gives you peace of mind knowing your heater is firmly and safely installed.
Install the Mounting Bracket First
Before securing your heater, the mounting bracket must be properly installed to ensure maximum stability and performance. Begin by aligning the bracket with the marks you made earlier for the studs. Using a drill and the appropriate hardware provided by the manufacturer, attach the bracket firmly to the wall.
Be careful not to overtighten, as this could damage the bracket or the wall. If the bracket comes with adjustable slots, take the time to set them to the angle that helps evenly distribute heat. This step is crucial because the bracket serves as the foundation for your heater, distributing its weight and keeping it securely in place.

Tips for Chain Mounting
When chain mounting your heater, prioritize both safety and stability. Start by selecting high-quality, weight-rated chains that can easily support the heater's weight. Ensure that the mounting points on the ceiling or wall are strong and secure by attaching them to structural elements such as beams or joists.
Using a level while adjusting the chain lengths can help maintain proper alignment and ensure the heater is evenly suspended. Additionally, opt for sturdy hooks or anchors designed for overhead installation, and avoid shortcuts that could compromise safety.
Tips for Rigid Mounting
When opting for a rigid mounting setup for your heater, precision and stability are key. Begin by selecting a durable mounting bracket that matches the weight and specifications of your heater. Ensure that the surface you’re attaching the bracket to—whether a wall or ceiling—is strong enough to support the heater securely.
Use appropriate screws, bolts, or anchors to fasten the bracket tightly into place, avoiding any loose or unstable connections. Double-check that the heater is positioned according to the manufacturer’s guidelines, ensuring sufficient clearance from flammable materials and optimal airflow for safe operation.
Check the Angle and Positioning
Properly adjusting the angle and positioning of your heater is the key to maximizing efficiency. Begin by consulting the manufacturer's instructions to determine the recommended angle for optimal heat distribution. Typically, a slight downward tilt directs the warmth toward the target area, minimizing heat loss.
Be cautious to avoid angling the heater too steeply, as this can create uneven heating and reduce effectiveness. Additionally, confirm that the heater's position is free from obstructions that could disrupt airflow or pose a safety hazard. Taking the time to fine-tune the angle and placement not only enhances comfort but also helps to extend the life of the heater. Regularly reassess and adjust as needed, especially if the surrounding environment or usage patterns change.
At Calcana, we’re here to help you make the installation process even easier with our infrared heater mounting kits. We don’t just sell top-of-the-line radiant heaters, we give you the accessories you need to mount your heater to any ceiling without any of the guesswork and triple-checking. Plus, with our easy-to-follow, step-by-step user manuals and dedicated customer service, you can ensure a smooth, simple installation.


Leave a comment
This site is protected by hCaptcha and the hCaptcha Privacy Policy and Terms of Service apply.